
Ever since I started my first journal in 2007, art journaling has been my great passion. I know that might sound silly, because art journaling is mainly about re-creating memories based on life while it’s happening. So basically, I love reflecting on life and on my days. This has always been a big part of my life (judging by the large box of journals I have), but being a highly visual person, I find that in bringing images and text together, I can get a lot closer to my true experience.
Journal page from 2010 © Anna Denise Floor
Since I am so passionate about art journaling, I often talk about my journals and about the joy they bring me. I try to really make other people see how much fun this is and how easy staring an art journal can be. Since not a small part of the fun is the Internet community around it (you!), I would like to share with you some of the things I’ve learned in the past few years about the principles of art journaling. I’ve never been to art school, so I’ve pretty much had to figure all of this out by myself, as I am assuming most of you have as well. In the coming weeks, I’ll show you what I’ve done and what I’ve learned in three parts:
Part 1 – Topics and layouts
Part 2 – Color schemes and materials
Part 3 – Drawing and putting it together
This week, for part one, I’d like to focus on the topic of the ‘spread’ (two facing pages of your journal) and layout.
A page from 2010 © Anna Denise Floor
Another page from 2010 © Anna Denise Floor
Topics
In choosing a topic for my spread I usually make a decision pretty early on. Do I want to reflect an idea, a mood, or do I want to focus on what I actually did that week? I’ve noticed I will focus on bigger ideas or moods whenever I haven’t done anything spectacular those specific days. There’s only so many ways in which I can get inspired by drawing the cycle of getting up – going to work – having dinner – going to bed. So during these kinds of weeks, I will mostly focus on some theme that played a role in my life that week, or an idea I’ve been thinking about for a while.Whenever I’m a little more active, during holidays or weekends, I notice I prefer to actually draw my experiences. Typically, I won’t try to draw all the things I did, but I make a selection. In making the selection I think about a) what were the highlights of my day and b) what works visually. If I have seven things I did today, but three of them involve me sitting behind my computer, I’ll try to combine some of those stories into one tale. If you like, you can quickly write down the things you absolutely want to include in your spread. It can be a nice way of keeping in mind what you want to do.
© Anna Denise Floor
Now, be aware that this structured way of working on your art journal might not be right for you. I’ve often heard teachers and very talented art journalers say that they think ‘just going with the flow and seeing where you end up’ is the way to go. I admit that perhaps this works better for when you want to put your emotions out there, but being the obsessive planner that I am, I like to work a little more structured. For me, having a couple of ‘rules’ or ‘guidelines’ actually works quite liberating, but if this makes you freeze up – please keep on doing what you’re doing. Move along. Nothing to see here. This is just how I like to work.
Layouts
After looking at lot of examples online (Flickr is my favorite site to visit whenever I need a fix of inspiration, but I like looking at vintage ads as well) , I have noticed that the pages I like best are those where everything works together to get the message across. Depending on your topic, different layouts may work for you. Here are some I personally like to work with:
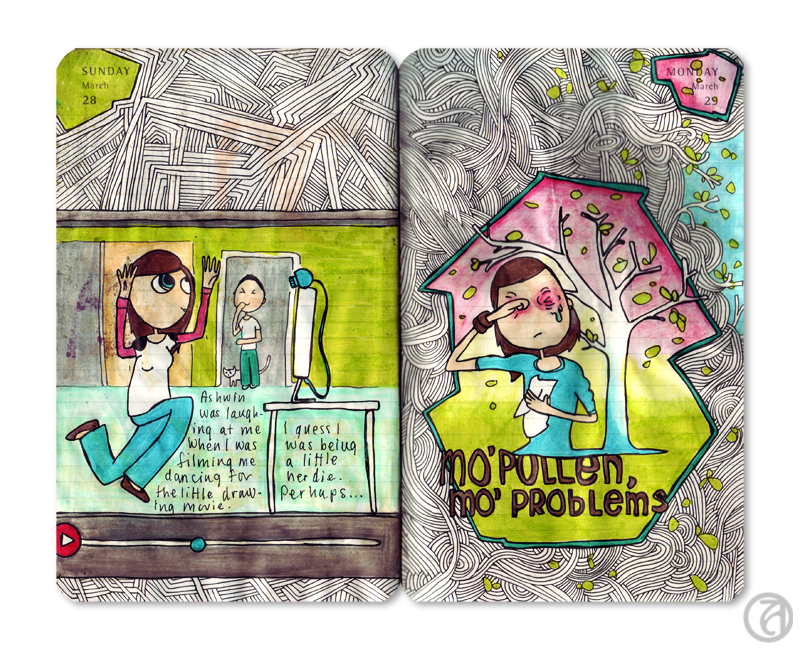
The 'horizontal' layout
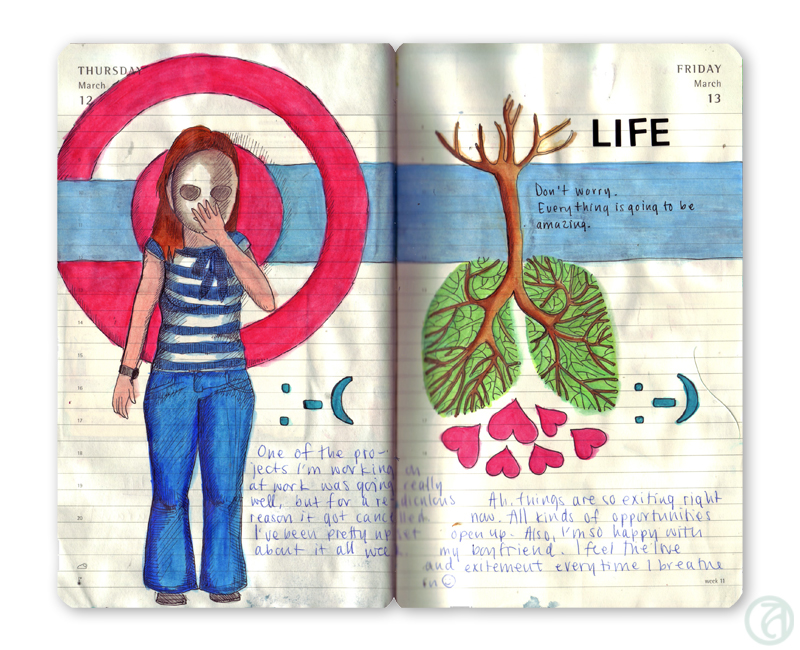

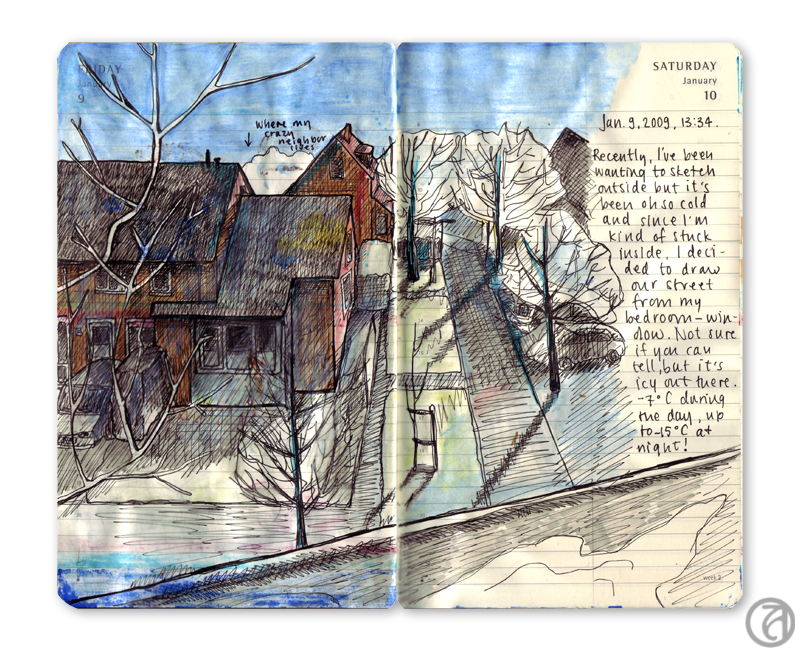
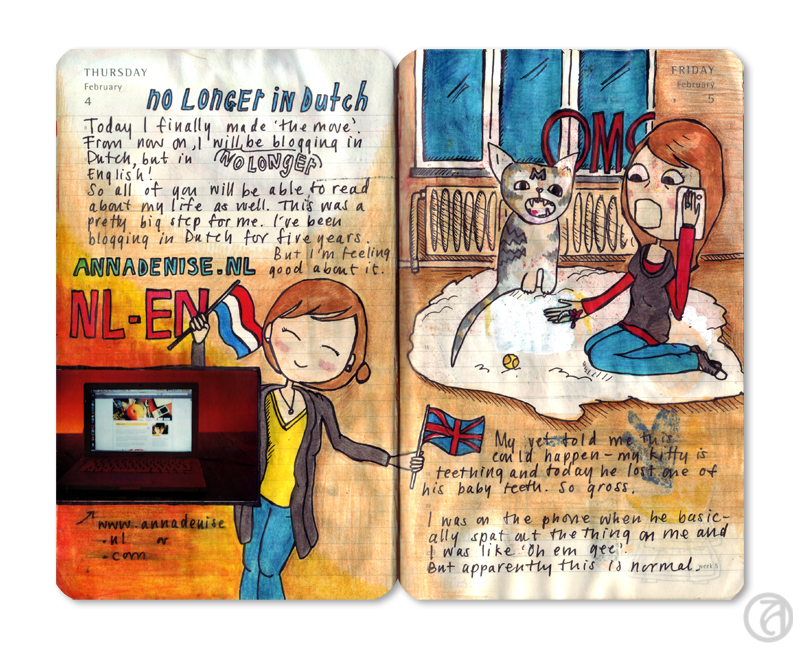
The layout I use the most, is the horizontal layout. It stays true to the layout of the journal and it works for me because you can give the two pages a very different topic, but at the same time, nicely tie them together. This can be done very simply by putting horizontal backgrounds in place, but also by letting the background run through. This layout works for ‘single idea’-pages as well as for ‘adventure'-pages, where you have more than one scene you're drawing.
The 'storyboard' layout
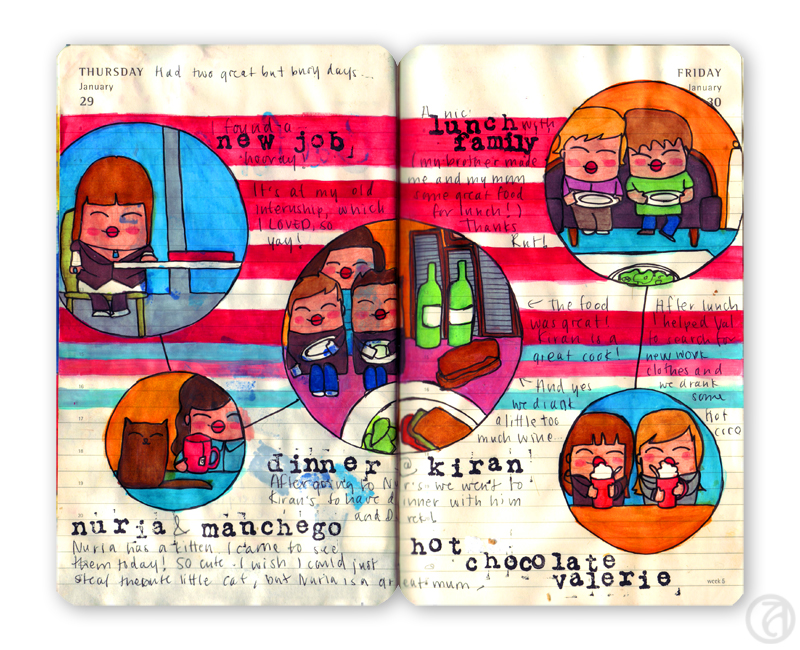
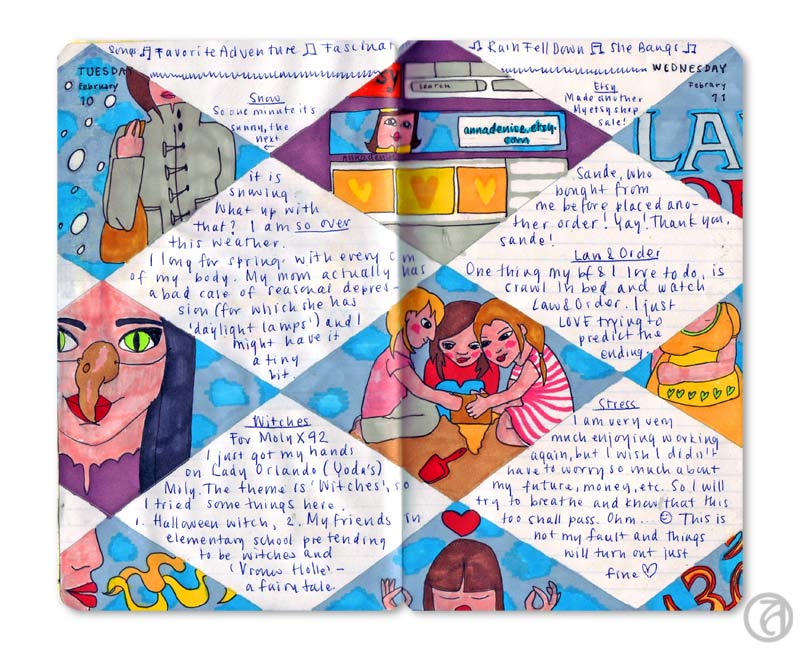
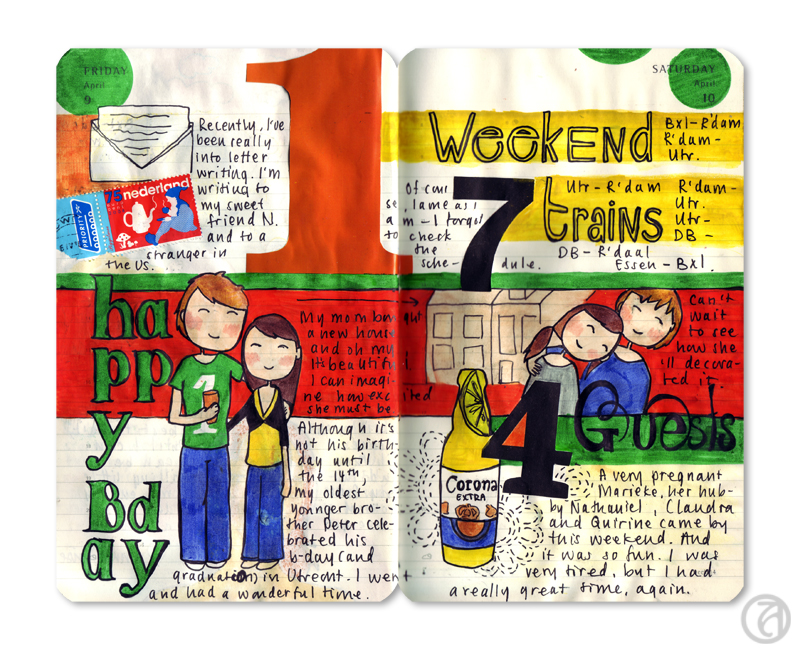
When there’s a couple (unrelated) topics I want to deal with, I’ll often go for what I’ll call the ‘storyboard’ layout. I literally make different boxes, one box per subject.
The 'one page' layout
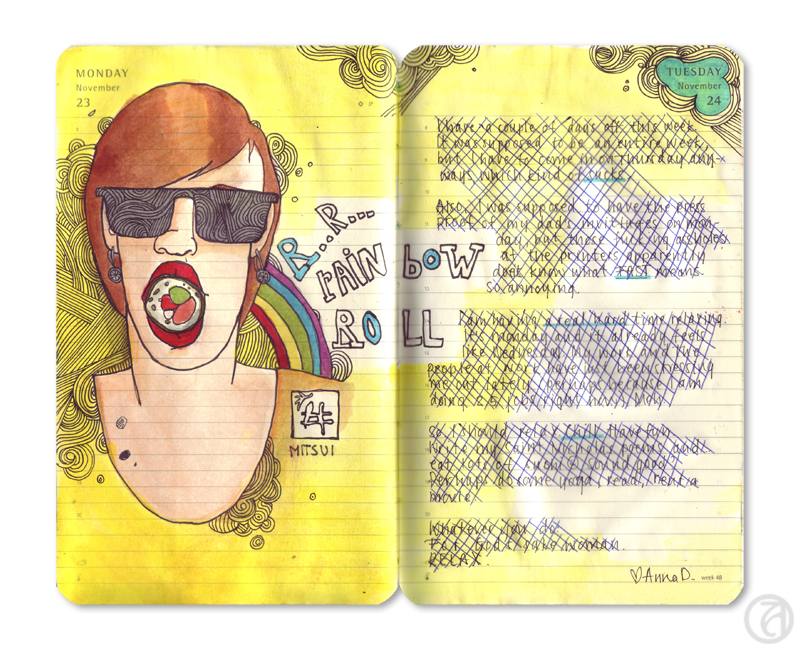
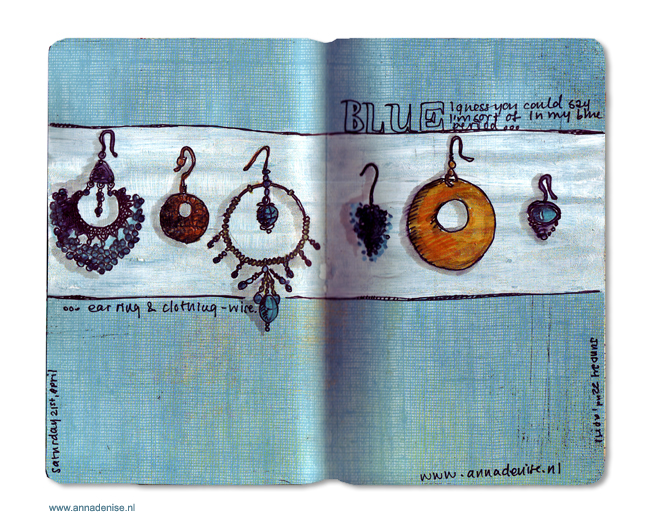
For the ‘single-idea’-spreads, I often just use the page as being one page – centering the content in the middle of the page, or putting the focus of the drawing on one side, and the text on the other.
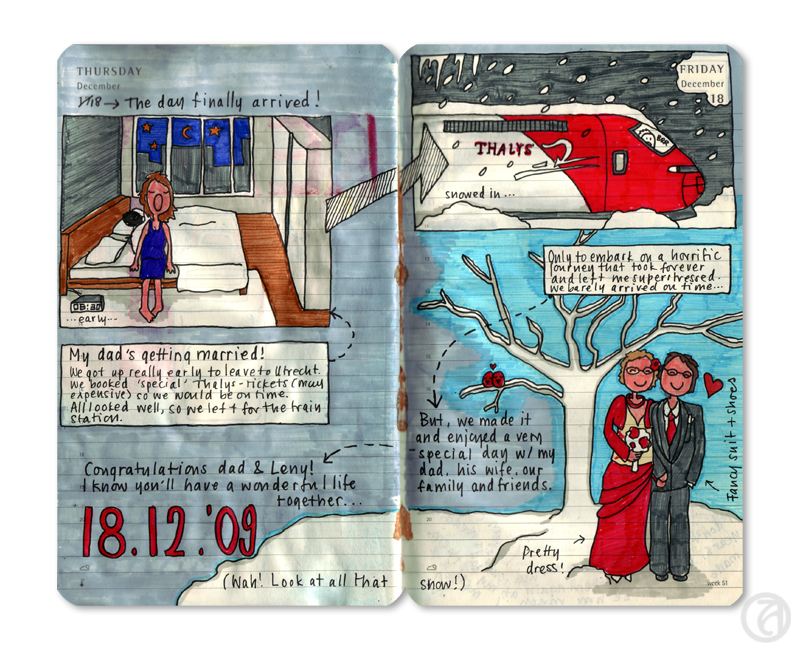
Separate pages
True to journaling, I often will do one page at a time, literally. This of course means the layout is broken up into two parts. I will often try to compensate this by using similar colors, or thinking of the kind of shapes I use in my layout. I can go for the uniform look by using the same layout on both pages, but more often, I’ll try to look for that tension. Rond shapes vs square shapes.
Adventure pages

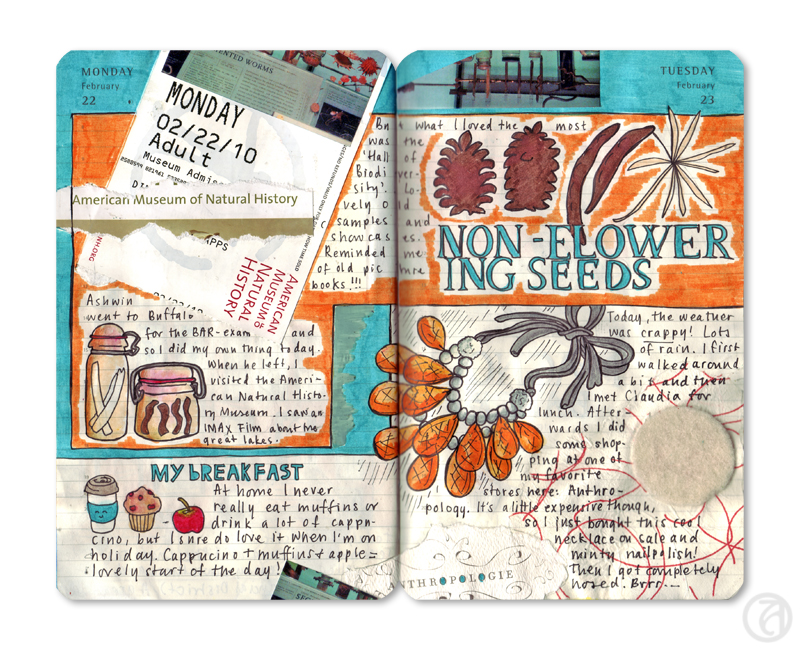
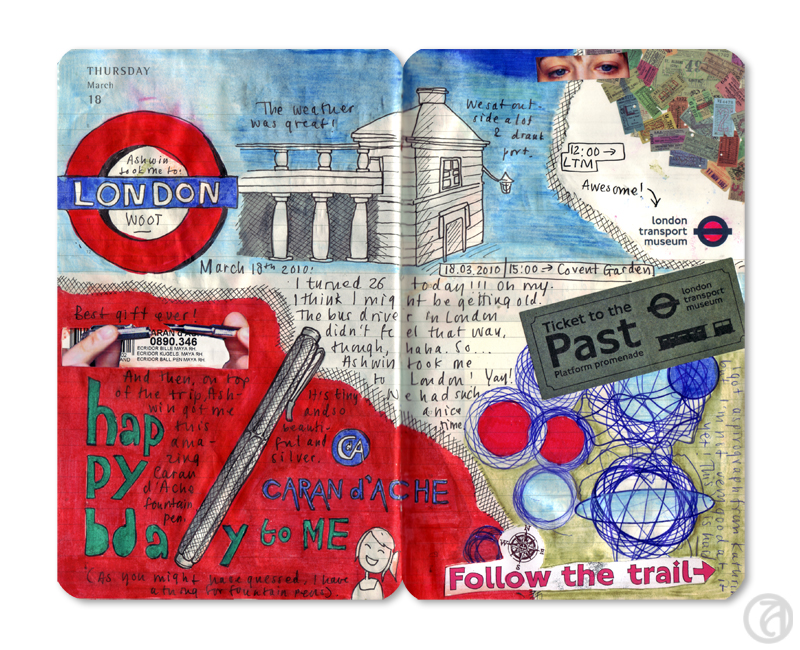
When I’m on vacation, I will often bring my journal with me to activities and I’ll draw a lot on the spot. This means my pages will usually be more full and a little more uncoordinated. To compensate for this, I will try to divide the pages up in sections. A section for drawing at the museum, a section for a short description or tale, a section for tickets, etc.
These are just some of the layouts I use, although I’ve probably forgotten some as well. What’s most important, I think, is that you consider the things you want to emphasize and think of how you can bring these to the attention, without breaking the harmony of the spread.