Posts in Tutorials
Process Video: Illustrated Journal Pages from 31st of March + 1st of April, 2023

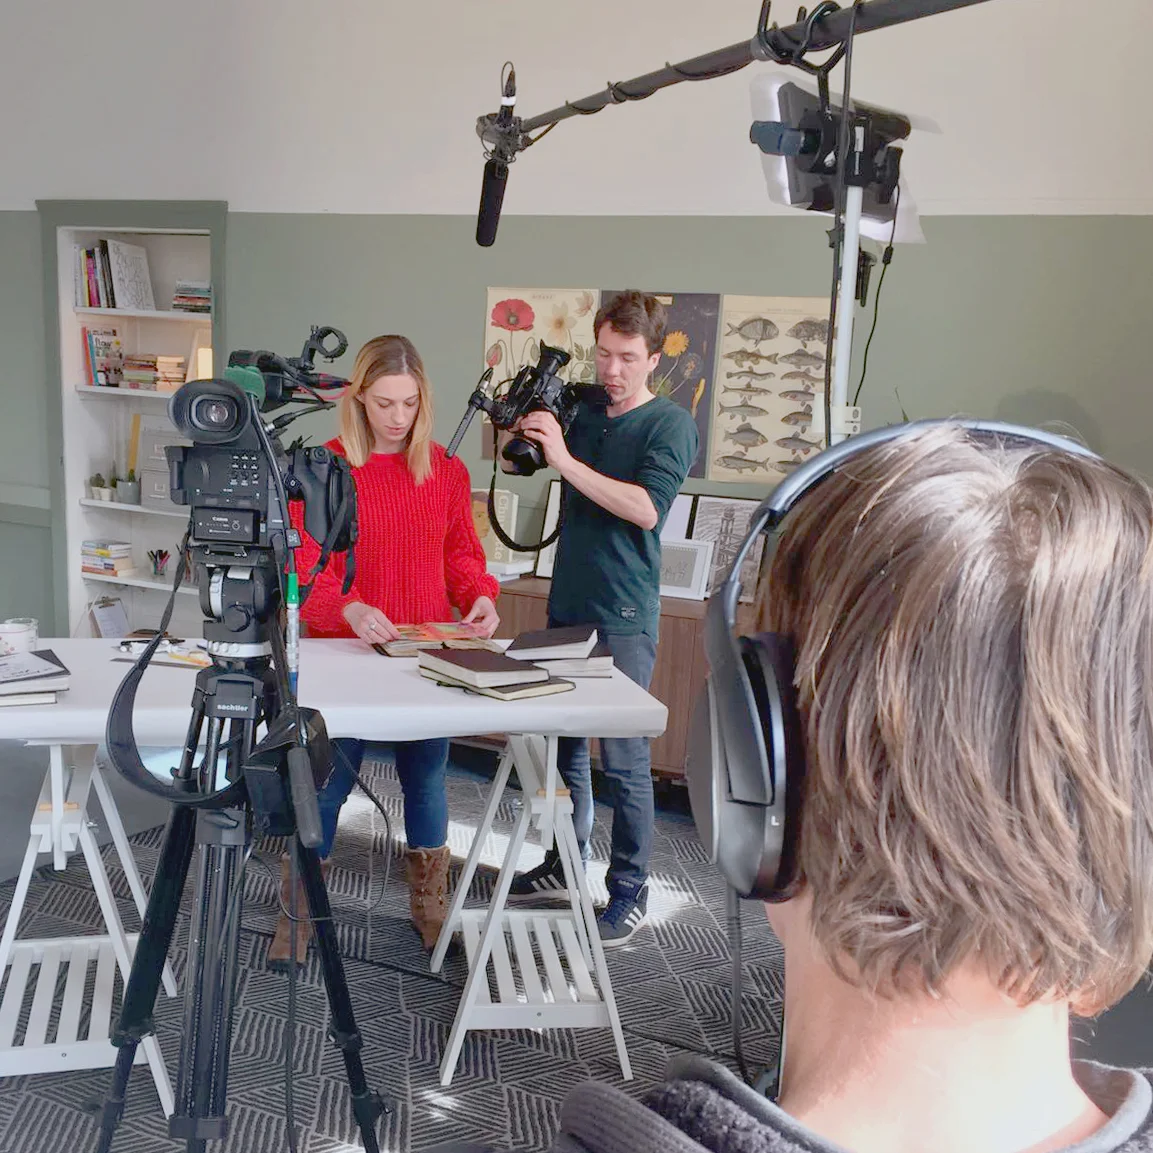
It's been a while since I did one of these. To be honest, I tend to cramp up a bit when I film my process and end up not loving the end result, BUT I got a new camera setup for my birthday so I had to test it! Real time this was about 2 hours of drawing, including tea breaks and waiting for the watercolors to dry, but I sped it up for your convenience because there's a lot of fiddling around with the background.

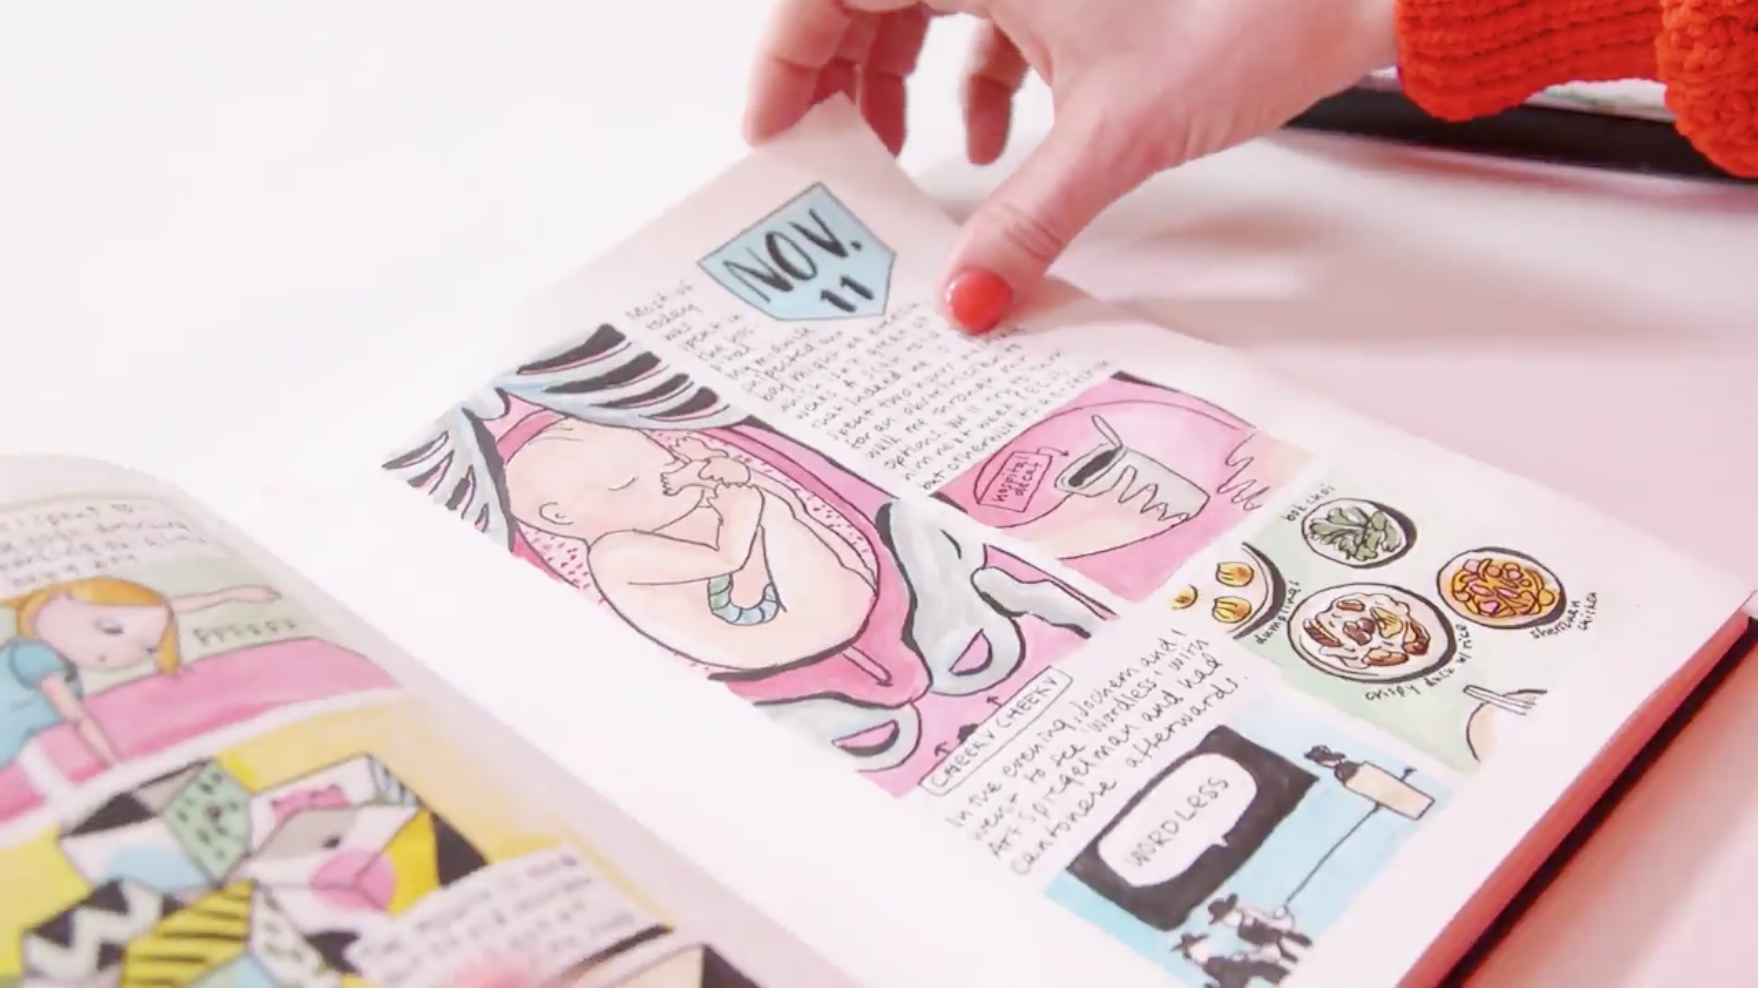
Challenged myself with choosing a limited color palette, using the Odd Orange color stickers.


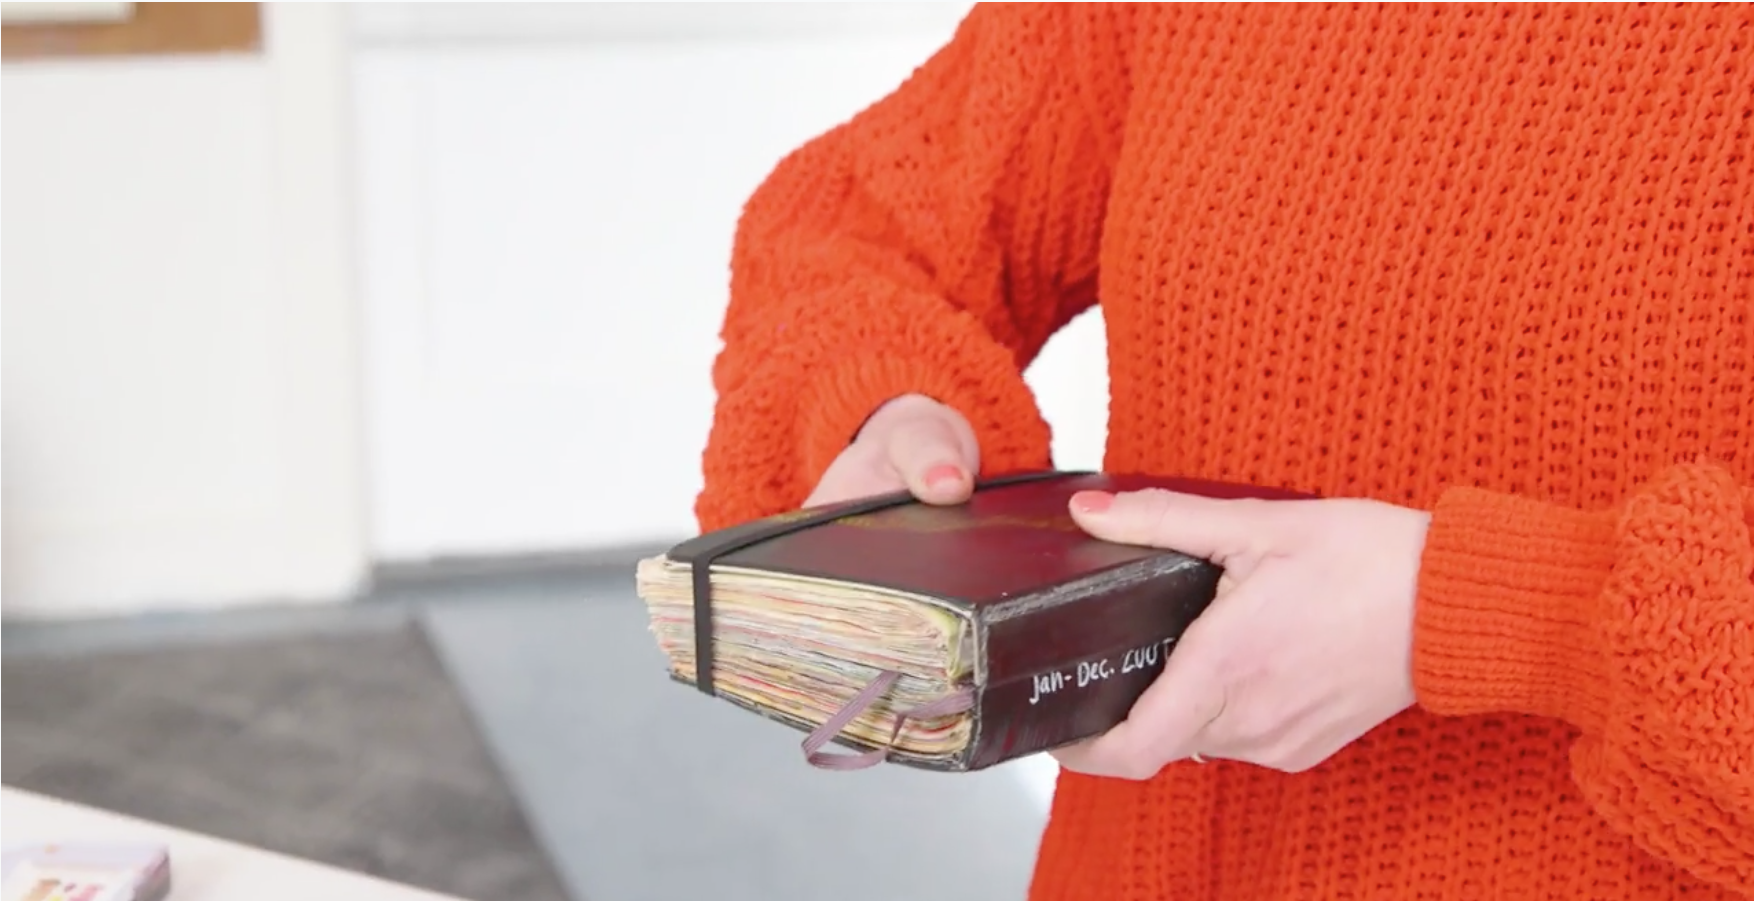
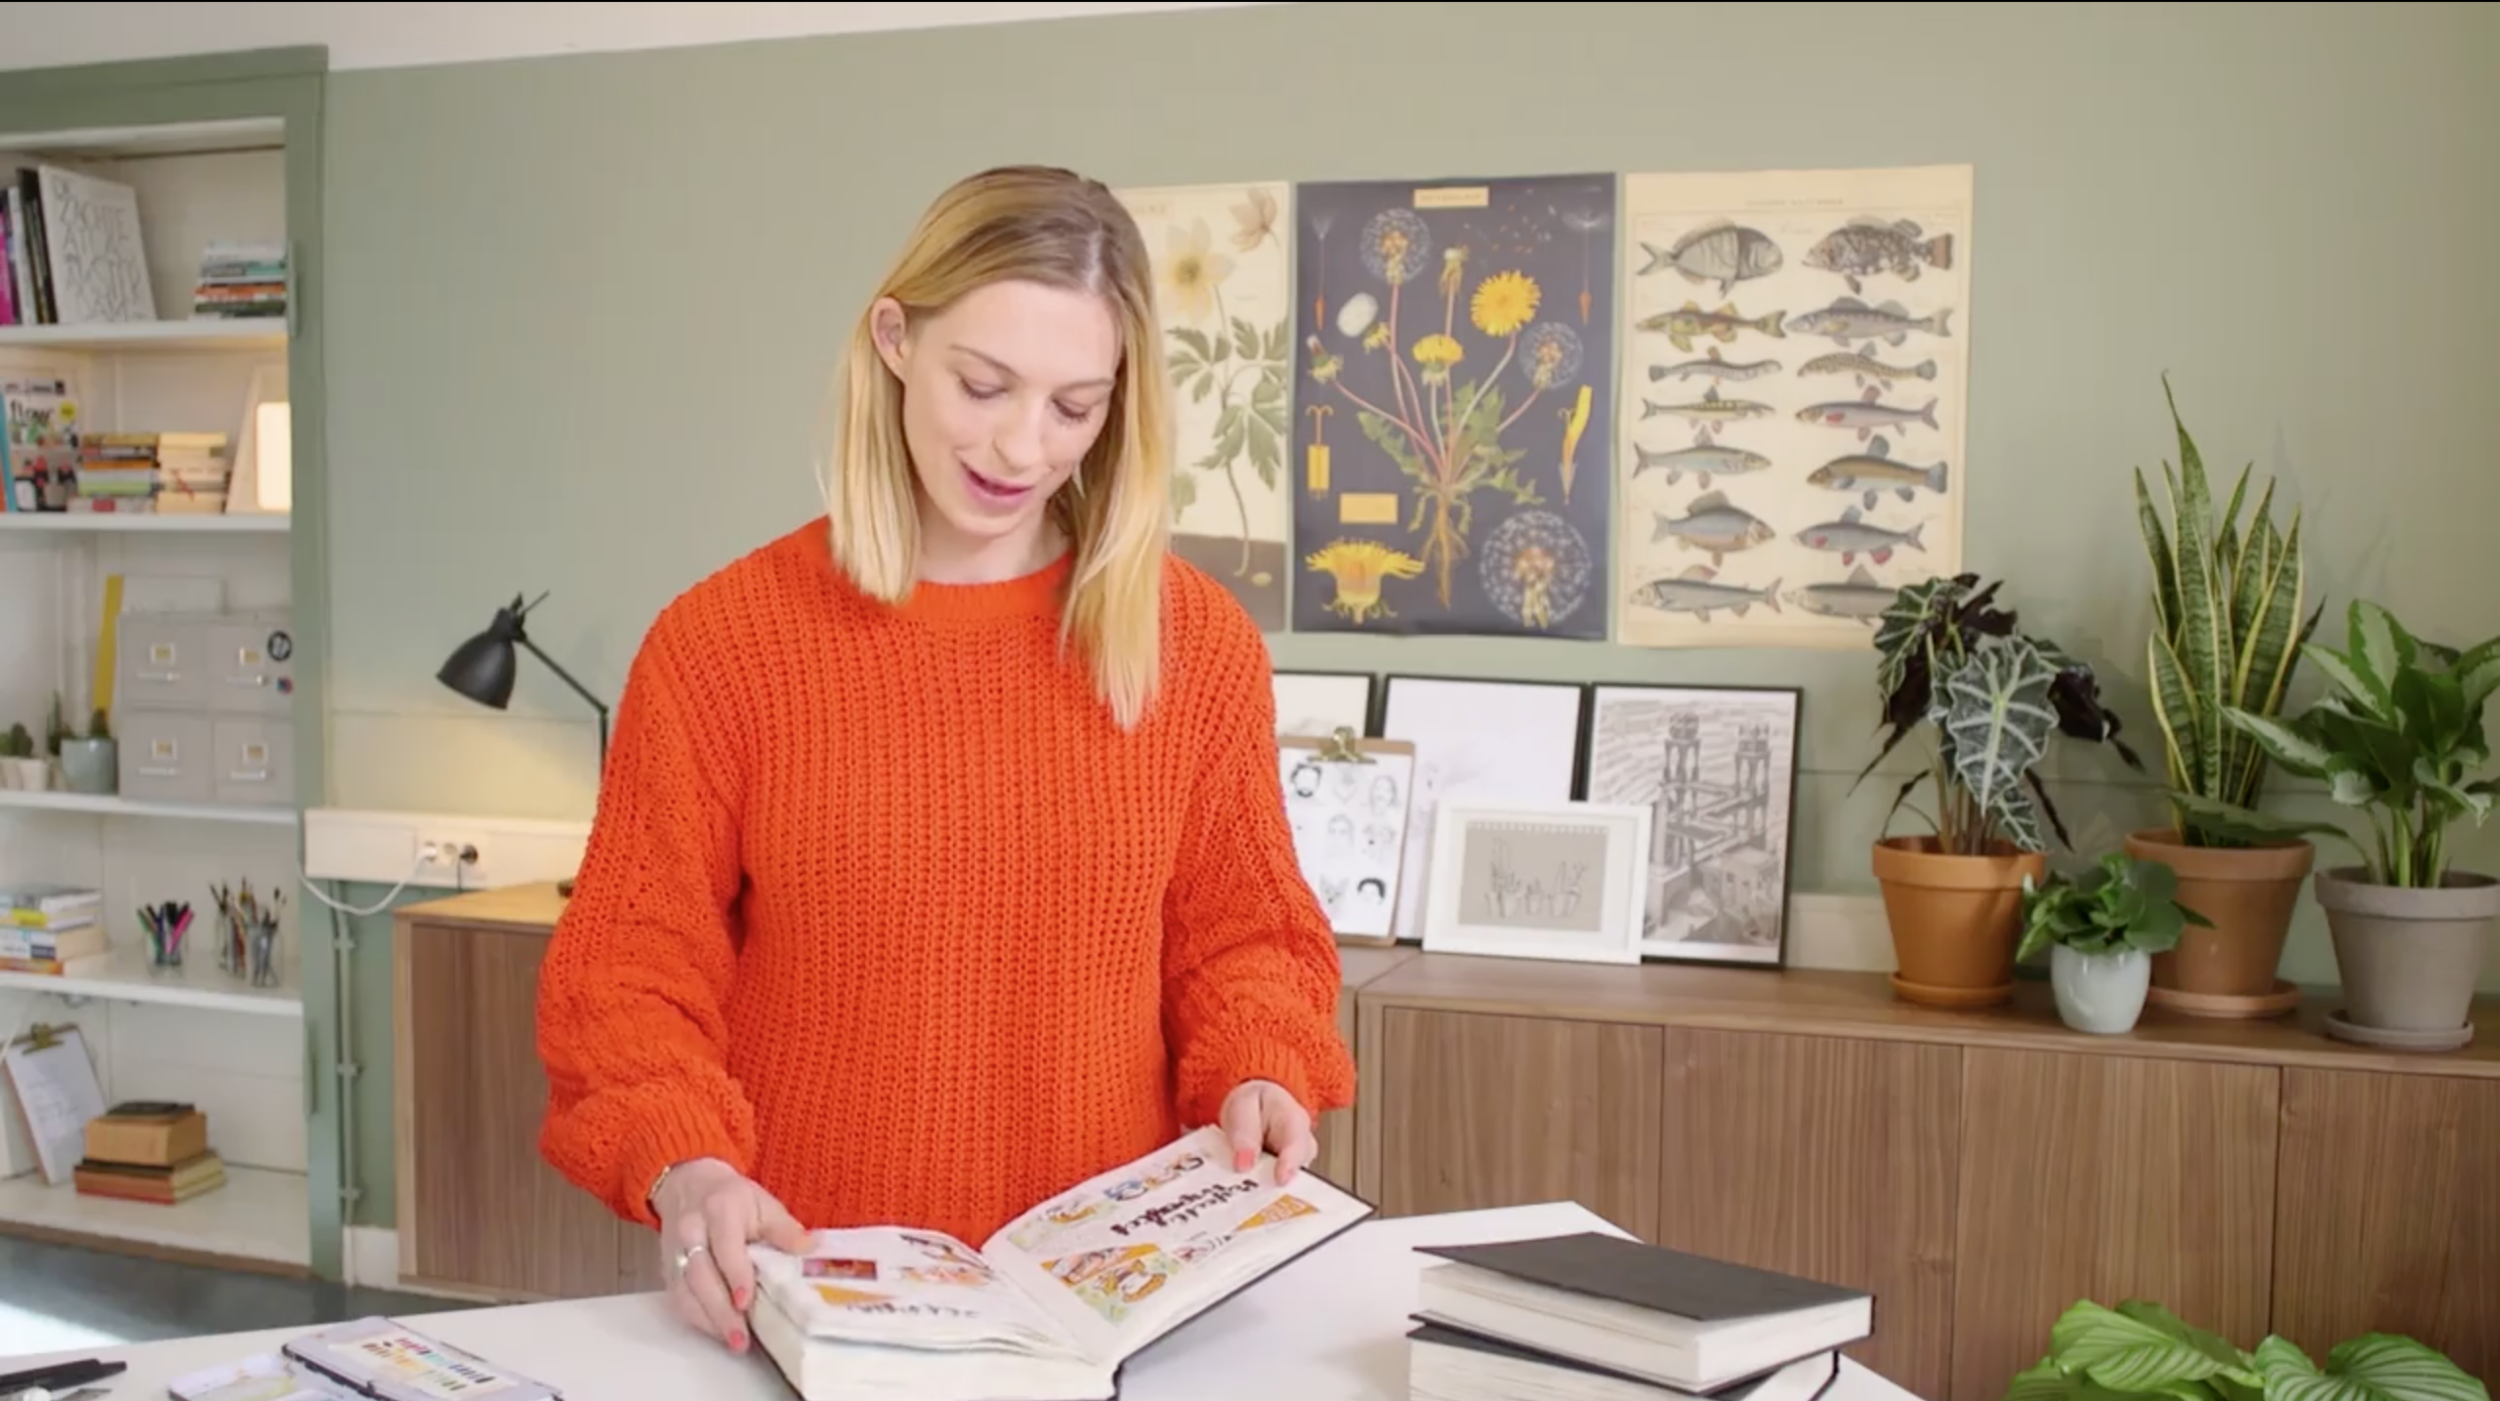
Sketchbook: Odd Orange A5 landscape sketchbook

Materials: Winsor & Newton watercolor pans, Caran d' Ache Luminance pencils, Ecoline markers, Tombow Fudenosuke fineline marker

Music: 'Empty Briefcase' by Victor Lundberg, followed by 'Fast Forward, Pause' by Rebecca Mardal. Both via Epidemic Sounds.

NEWS: Teaching 'The Whimsical Sketchbook' Klass for Sketchbook Skool!

A few months ago I did something totally scary - I stood in front of a camera to film a class for Sketchbook Skool! I am so excited to be teaching in The Whimsical Sketchbook with four other insanely talented artists like Rebecca Green, Mike Lowery, Vanessa Brantley Newton, and Miriam Bos. If you know me only a little bit, you'll know I am seriously hardcore #fangirling over here and still can't believe I am actually part of a project these amazing artists have worked on as well. Like what happened!?
 

What is this course about?

Well, definitely watch the trailer below if you'd like to find out. In this class you'll spend five weeks with five illustrators exploring, aimed at inspiring your creativity by immersing you in the lives and the studios of four artists who use their sketchbooks as incubators of stories, emotions, and vivid new worlds.

You’ll learn by watching the artist sharing their step-by-step process in 12 different demos using everything from gouache, markers, ink, crayons, collage, iPads, colored pencils, watercolors, pastels, and more..

What am I teaching?

Once again, check out the video below. I'll be sharing my personal story - about why I keep an illustrated journal, what it means to me, and how it helps me process my life as I move through it.

I'll also be sharing some of my top tips for keeping your own journal. One of the key things I have learned through these last 10+ years of keeping an illustrated journal is that a good layout can really make your drawings stand out, while also keeping enough space to write about your adventures. In this course I talk about the five layouts I like working with, how I plan out my pages, and share easy hacks you can use no matter what skill level you're at (because honestly, I feel like I am at level 0 most days, so I am all about the hacks!). 

How does it work?

You sign up here, and then klass starts June 18th. For five weeks, you'll work with a different teacher each week, learning from them, and completing assignments. Each artist will also do a webinar at the end of their week to ask them (and thus me!) anything. 


Where do I sign up?

Funny you should ask! Because I've got just the link for you (and please use THIS link, as I get a little bit of ££ when you sign up using my link, which equals to more snacks for the babies and honestly, you'd be a monster if you'd deny my babies snacks, no?):

Keeping a Travel Journal: Art Supplies & Tips

© Anna Denise Floor

Keeping an illustrated travel journal of your journey can be incredibly rewarding and romantic. It is an amazing souvenir and the process of creating will help you be more attentive to the little things and big sights you'll see on your trip. You'll remember and appreciate everything around you that much more.

It can also be hard and annoying. Why would you spend all this time drawing and sitting around when there's so much to do and see? Why carry around a notebook and paints and pens, when you can just bring your phone and take a quick snapshot?

Good point and this is why I believe in having a good travel-ready journal kit with you wherever you go. 

 © Anna Denise Floor

My Travel Journal Kit

The kit fitted comfortably in my small backpack and weighed next to nothing. 

© Anna Denise Floor

Top Travel Journal Tips

  • Draw a little every day - and don't forget to bring your kit! It'll help you to quickly get into a habit of observing the world around you more closely. 
  • Take your time and make sure your travel companion knows what he or she is in for! Nothing is worse than feeling rushed when you feel like drawing, so discuss this in advance. Jochem usually brings a book to read (or occasionally joins me by doing some drawing or writing of his own!), but you can also just agree to meet each other again in an hour or so. Finding a comfortable drawing spot on a terrace of a wine bar usually helps, too. 
  • Just pick something to draw, anything. In the picture above I'm drawing one small part of a gorgeous old Roman ruin. It had much better parts and the view of the ocean on the other side was no doubt better as well, but I picked this bit of wall because, well, there was a bench in front of it and there weren't a million tourists around taking selfies. Looking back at the postcard I drew there, I remember the whole place, not just the wall, so mission accomplished, I think. 
  •  Write down in your journal what you did that day if you really didn't have time to draw (or just didn't feel like it). It'll help you remember - plus it'll make your trip seem that much longer. 
  • Be flexible. Sometimes it works out, sometimes it doesn't. And always bring along a headlamp when you go camping in a tiny dark little tent and you want to be artistic after sundown. You sexy thang!

© Anna Denise Floor

Need More?

I made a little zine about how to keep a journal on the road. It's not huge, but it's got some good tips and fun illustrations! You can buy it here, in my Etsy shop. 

Tutorial: Use Photoshop to color in your journal pages

Hallo hallo!
Hope you're all well. In the past few months I've received quite a few messages (well, 3, which is a lot for me) with the request to do a post on how I create my digital illustrated journal pages, so I've created a little step-by-step here. First off, a little disclaimer: I am completely self-taught and have never followed any kind of course on illustration or Photoshop, so I am sure my process is a lot more painful and laborious than need be, but it's a process I've figured out over the course of a year and that seems to work for me. 

For more information on how I lay out and draw my pages, check out my other tutorials

Tools

© Anna Denise Floor - Click to enlarge

Step 1: Scan, Open in Photoshop & Crop

The first thing to do is to scan your lovely black and white journal page into Photoshop (or something similar, I'm just very used to Photoshop). Before you do this, you'll have to make sure to thoroughly remove all pencil marks from your page. Some people seem to use some kind of magical blue pencil when sketching that won't show up on your scanner, but I use a regular mechanical pencil and that stuff is a b•tch to remove, even in Photoshop. So! Clean up! Also - if you're using a book like I do, make sure not to draw too close to the spine as it can be hard to scan properly. You then open the file in Photoshop and crop it to the appropriate page size like so. 

© Anna Denise Floor - Click to enlarge

Step 2: Levels & Clean up

The most important step then, is to mess around with the levels and clean up the page. You want your lines to look black and crisp and not purplish and messy. You open up the Levels menu (shortcut Cmd-L or Image > Adjustments> Levels). Excuse the preview, I've got the Dutch version of Photoshop, but the image you'll see will look something like this.  

© Anna Denise Floor - Click to enlarge

There are various ways of messing around with the levels, but I like to tell Photoshop what's what, by using those little eyedropper tools on the right. Use the white one all the way on the left to tell Photoshop that that yellowy background color is supposed to be white, and the black one on the left for the black line work. For me, this is usually enough to get some nice clear lines. 

Then, clean up the image - which, by now, should be looking a lot easier. I love shortcuts, so I use the magic wand, select everything that's supposed to be white and use the selection tool to grab any bits that were left out. Delete (Cmd-X) and behold the whiteness.

© Anna Denise Floor - Click to enlarge

Step 3: Layers & Coloring

While you're there, go ahead and make another layer with just the line work on it. Pick Select > Inverse from the menu, copy (Cmd-C), cut (Cmd-X) paste (Cmd-V) and voilà - you've got a clean background, and a layer with just the lines on it. This will come in handy when you're working with separate backgrounds (I'll show you later). 

© Anna Denise Floor - Click to enlarge

This is usually also the place where I start to think of coloring for my page. I've written more about how to pick your colors in this post, and my process is pretty much the same, but digital - which means you have an endless choice of colors. I like to pick three basic ones and drop a few swatches in a corner for easy use. I'll start by using these colors, adding them to some larger parts of the drawing with the bucket tool on the left (using the eyedropper tool on the left to sample the colors).

This is also where the various layers come in handy already - for example, the sky behind the little row of houses is on the background layer, while the colors of the houses in the foreground are on my first layer. It's much easier that way, and it prevents you from accidentally erasing any lines. 

© Anna Denise Floor - Click to enlarge

Step 4: Work it!

Looks good already you think? Nah, not really. Up close, the drawing's still a mess. Which means we've come to the most laborious part of the process. Just to remind you: there's probably an easier, faster way of doing this but I just haven't found it yet. To be honest, though, I quite like this bit and the attention it requires. It has the same meditative feel to it as coloring in pages by hand. 

© Anna Denise Floor - Click to enlarge

What you're going to do, is grab that little brush tool, and color in every white bit by hand, and clean up the lines a little more. Also, I like to add shadows to my drawings, so I'll usually pick one color darker than the color I've already added, and manually add them to the mix. Highlights may be useful sometimes as well. 

This will take forever, so you better start liking the process, or find a quicker, less labor-intensive way of going about this. In any case: good luck! Here's a close up of

© Anna Denise Floor - Click to enlarge

Step 5: Finish Up & Save

Six hours later, your drawing may look something like this (well, hopefully not, because I'd have to sue you for copyright infringement). Time to add some finishing touches! To make the page look more polished, go into the background layer, and add a little "drop shadow" to the panels. I know, I know, Photoshop has a function for this, but I like the uneven look of doing it by hand. Call me a masochist. I've also added a background behind the date here. 

© Anna Denise Floor - Click to enlarge

Then you remove your little color-swatch in the corner (or you can keep it), and save for... web, print, whatever. For web, you'll mostly only need a file with a 70 DPI, for print always go with 300 DPI at least. 

Tadaa! You're done! 

© Anna Denise Floor

I hope you enjoyed this tutorial and please let me know should you have any questions at all! Also - if you're a more advanced Photoshop guru and have got some tips on how I could improve this process, remember, sharing is caring! So please do so in the comments below.

Thanks all! Enjoy your week!

Journal Page: Snow Globes and Super Glue

© Anna Denise Floor

So then my colleague Ingrid and I had an epiphany and decided to wear matching sparkly tights to our office Christmas party and even though no one actually said so, everyone was of course very jealous. It is also probably the reason why my team won the gingerbread house making competition (we made a boat), and why our snow globe had dinosaurs in it and looked sparkly and badass. No, actually, I think that may have been my colleagues doing, as I was too busy laughing at my boss who glued his fingers together with superglue (he's alright, although he probably hasn't been able to access finger print protected iPhone for two weeks). 

Anyways, I included the snow globe making tutorial in my drawing as it was AWESOME and super easy to do - big thanks to my colleague Jane, who was the mastermind behind the amazing party and this tutorial!

Did you have an office party? Any good gossip?